WordPress is one of the most popular content management systems (CMS) used to create blogs, websites, and e-commerce platforms. In this guide, we will walk you through the process of installing WordPress on a Linux server, giving you full control and customization options.
Prerequisites
Before we begin, make sure you have the following set up on your Linux server:
- Apache Web Server or any alternative web server – To serve your WordPress website.
- MySQL (or MariaDB) Database – For WordPress to store its content.
- PHP – To run WordPress scripts.
Once you have verified the installations, you’re ready to proceed with setting up WordPress.
Step 1: Update Your Server
To ensure your server is up-to-date, you can run the following commands to check and install the latest updates:
For Ubuntu/Debian:
sudo apt update && sudo apt upgrade -yFor CentOS:
sudo yum update -yStep 2: Create a MySQL Database for WordPress
The next step is to create a database and a user that WordPress will use to store and manage its data. This is a crucial step because WordPress relies on a database to keep track of your posts, pages, comments, and settings. Here’s how to do it step by step:
- Log into MySQL
First, you need to log into the MySQL command line interface as the root user. Open your terminal and run the following command:
sudo mysql -u root -psudo: This command runs the following command with superuser privileges, which are often necessary for administrative tasks.mysql: This invokes the MySQL client.-u root: This specifies that you want to log in as the root user. The root user has full privileges to manage databases and users.-p: This flag tells MySQL to prompt you for the password of the root user.
After entering this command, you will be prompted to enter the root user password. Type your password and press Enter.
2. Create a Database and User
Once you are logged into the MySQL shell, you can create a database specifically for WordPress and a user who has permission to access it. Execute the following commands in each steps:
i) Create a Database:
CREATE DATABASE wordpress_db;CREATE DATABASE: This command creates a new database.wordpress_db: This is the name of the database you are creating. You can name it anything you like, but it’s common to use a name that reflects the purpose (likewordpress_db).
ii) Create a User:
CREATE USER 'wordpress_user'@'localhost' IDENTIFIED BY 'strongpassword';CREATE USER: This command creates a new user.'wordpress_user'@'localhost': This specifies the username (wordpress_user) and the host (localhost) from which this user can connect. By usinglocalhost, you’re allowing the user to connect only from the local server.IDENTIFIED BY 'strongpassword': This sets the password for the new user. Make sure to replace'strongpassword'with a strong password of your choice.
iii) Grant Privileges:
GRANT ALL PRIVILEGES ON wordpress_db.* TO 'wordpress_user'@'localhost';GRANT ALL PRIVILEGES: This command gives the specified user full permissions to perform any action on the database.ON wordpress_db.*: This specifies that the privileges apply to all tables (*) within thewordpress_dbdatabase.TO 'wordpress_user'@'localhost': This indicates that the privileges are being granted to the user you just created.
iv) Flush Privileges:
FLUSH PRIVILEGES;- This command tells MySQL to reload the privileges from the grant tables. It’s necessary to ensure that the changes you made take effect immediately.
v) Exit MySQL:
EXIT;- This command logs you out of the MySQL shell.
Important Note
Make sure to replace wordpress_db, wordpress_user, and strongpassword with your own values that suit your preferences. Using strong, unique passwords for database users is essential for security.
Step 3: Download WordPress
In this step, we will download the latest version of WordPress, extract it, and move it to the appropriate directory on the server.
1. Download WordPress
First, navigate to the temporary directory and download the latest WordPress package:
cd /tmp
wget https://wordpress.org/latest.tar.gz
cd /tmp: Changes to the temporary directory where you’ll download the file.wget: Downloads the latest WordPress package from the official site.
2. Extract the Downloaded Package
Next, extract the downloaded file:
tar -xvzf latest.tar.gztar -xvzf latest.tar.gz: Extracts the contents of the downloaded WordPress package.
3. Move WordPress to the Web Directory
Now, move the extracted WordPress files to the web server’s document root directory. The document root is the directory where your web server looks for files to serve to users. By placing the WordPress files here, you ensure that they are accessible via your domain.
If you are using Apache as the web server, the default document root for Apache on most Linux distributions is /var/www/html. This location is commonly used to keep web files organized and makes it easier for the server to locate them.
sudo mv wordpress /var/www/html/mv wordpress /var/www/html/: Moves the WordPress directory to the location where Apache serves files.
4. Set Correct Permissions
Finally, set the proper permissions for the WordPress files:
sudo chown -R www-data:www-data /var/www/html/wordpress
sudo chmod -R 755 /var/www/html/wordpresschown: Changes the ownership of the files to the web server user.chmod: Sets the permissions so that the web server can read and execute the files.
After these steps, your WordPress files are ready for the installation process!
Step 4: Complete WordPress Setup Through Browser
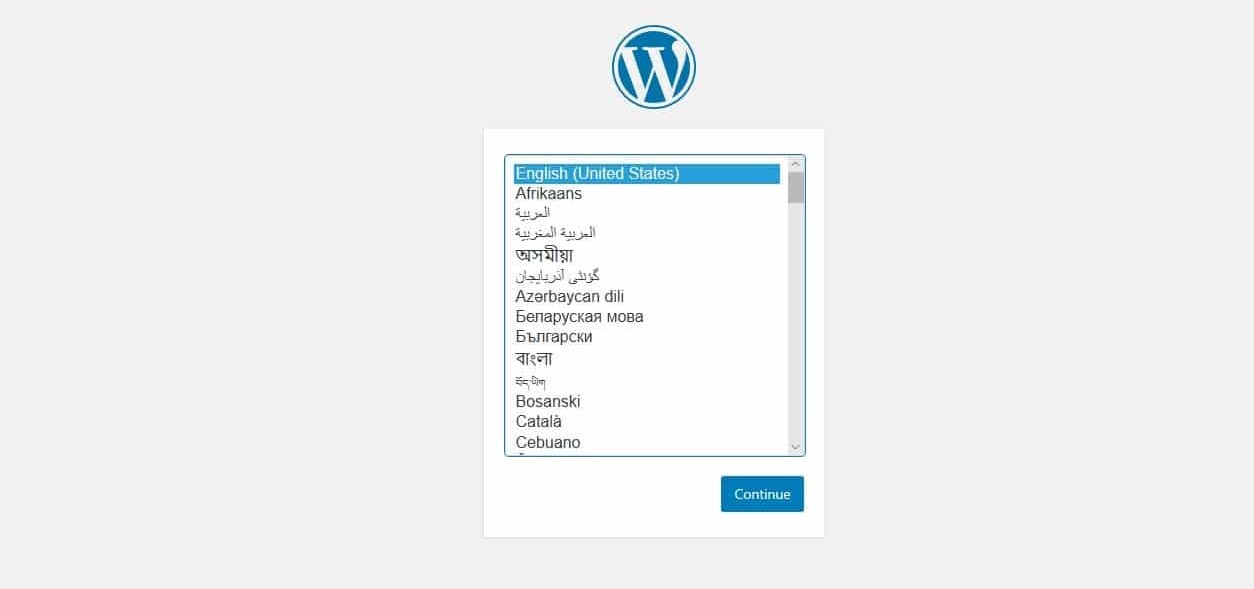
Now that everything is set up, visit your domain in a browser (e.g., http://yourdomain.com), and you’ll see the WordPress setup screen. Choose your language and follow the prompts to enter your database details and set up your admin account.

Step 5: Finalizing the Installation
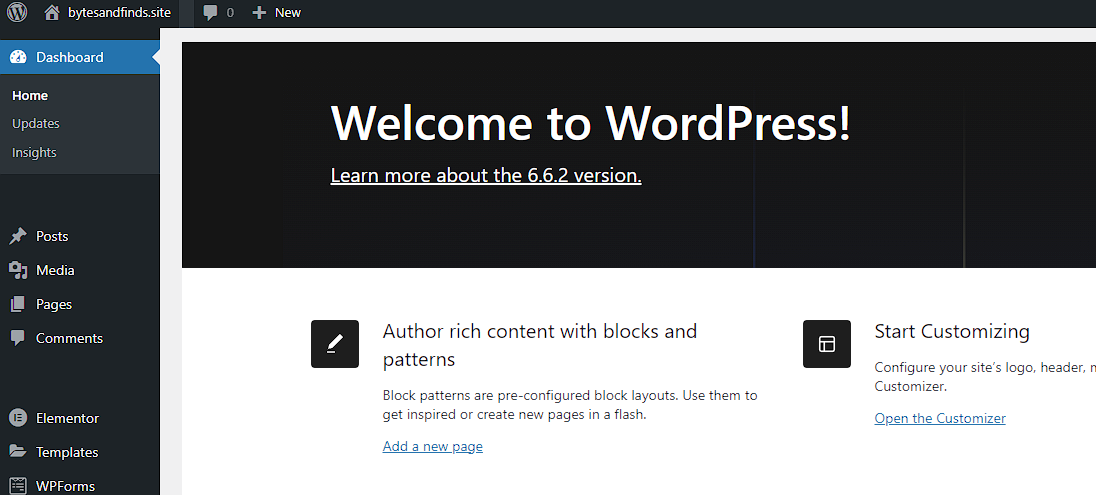
Once you’ve completed the setup through the browser, WordPress will be installed. You can now log in to your WordPress admin dashboard using the credentials you set during the installation process.

Conclusion
Congratulations! You’ve successfully installed WordPress on your Linux server. You now have a fully functional website where you can start creating content, customizing themes, and installing plugins.